We all have a really good camera on our phones. The standard phone these days has a camera that can make you look like a professional photographer if you know the right way to use it.
Here are a few tips on how you can take your pictures from “eh” to “ah”.
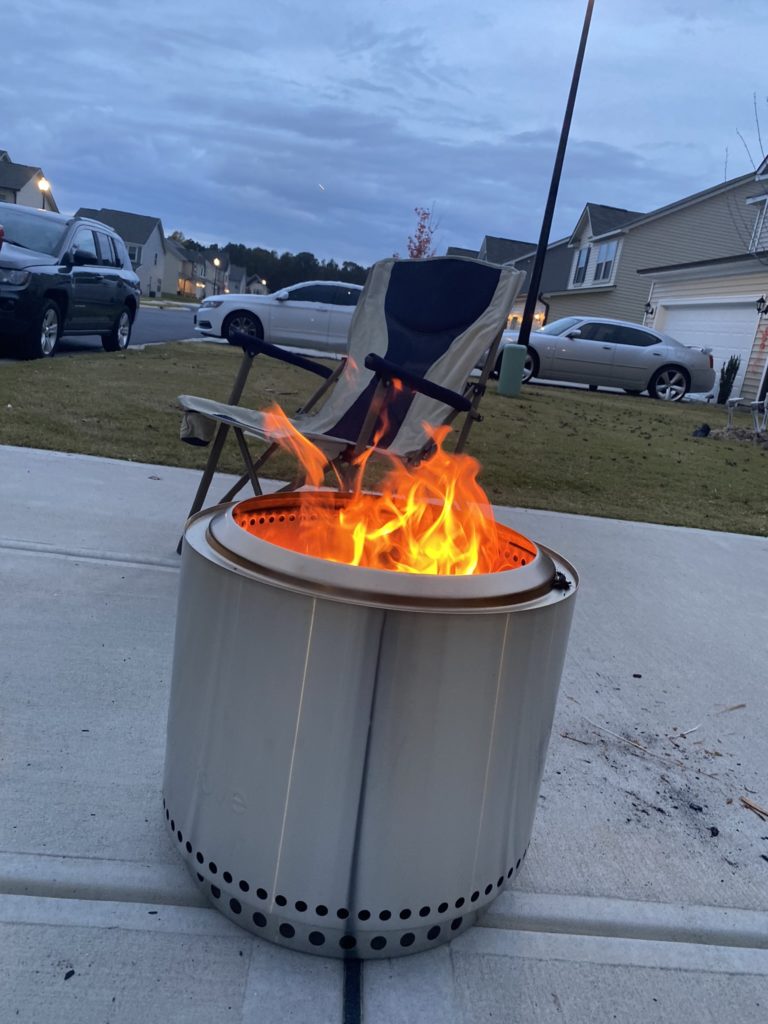
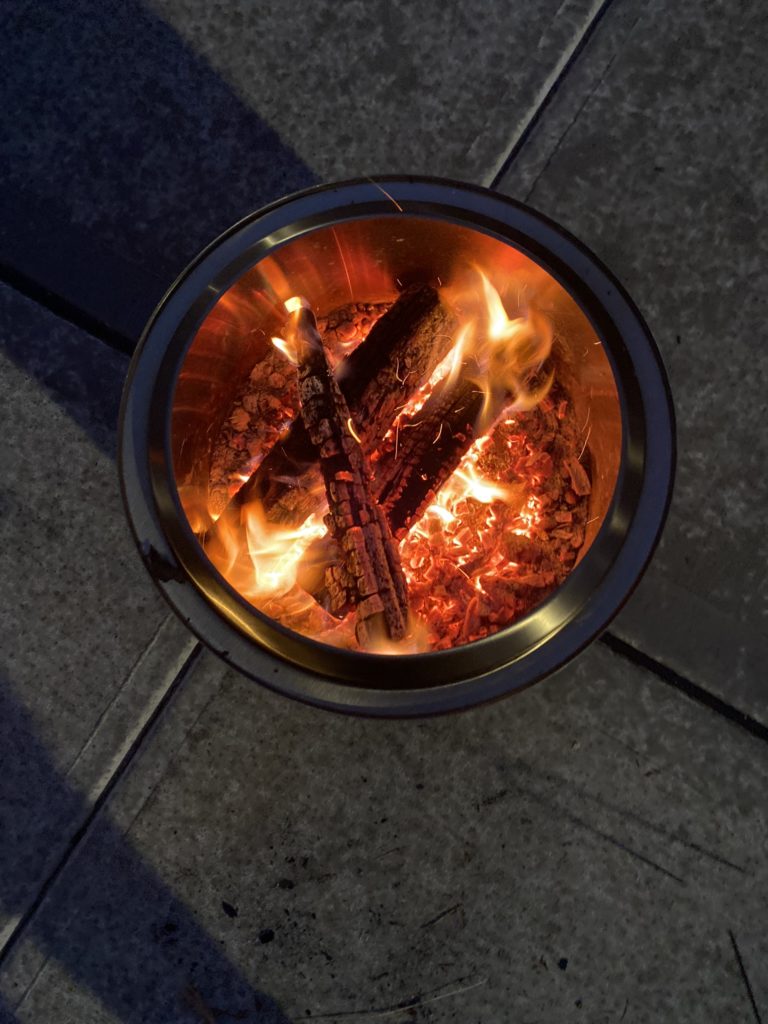
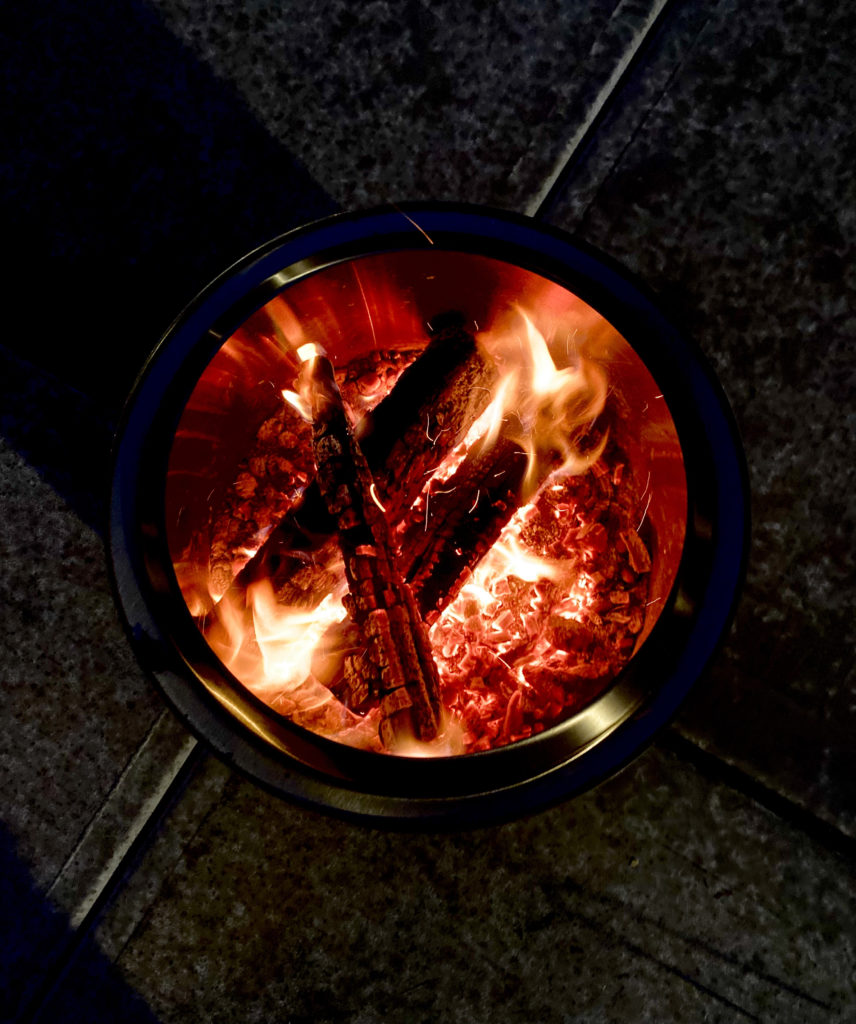
- Move the camera around – this is my new Solo Stove! Instead of posting a photo of it like the first image, I chose to raise the camera above the flames to show what’s inside the bonfire. Is there a different view you can show of your subject when you take the pictures? The third image is edited within the iPhone. I raised the exposure just a little, raised the highlights to the max, and lowered the shadows just a hair. Lastly, I centered the fire pit within the frame.
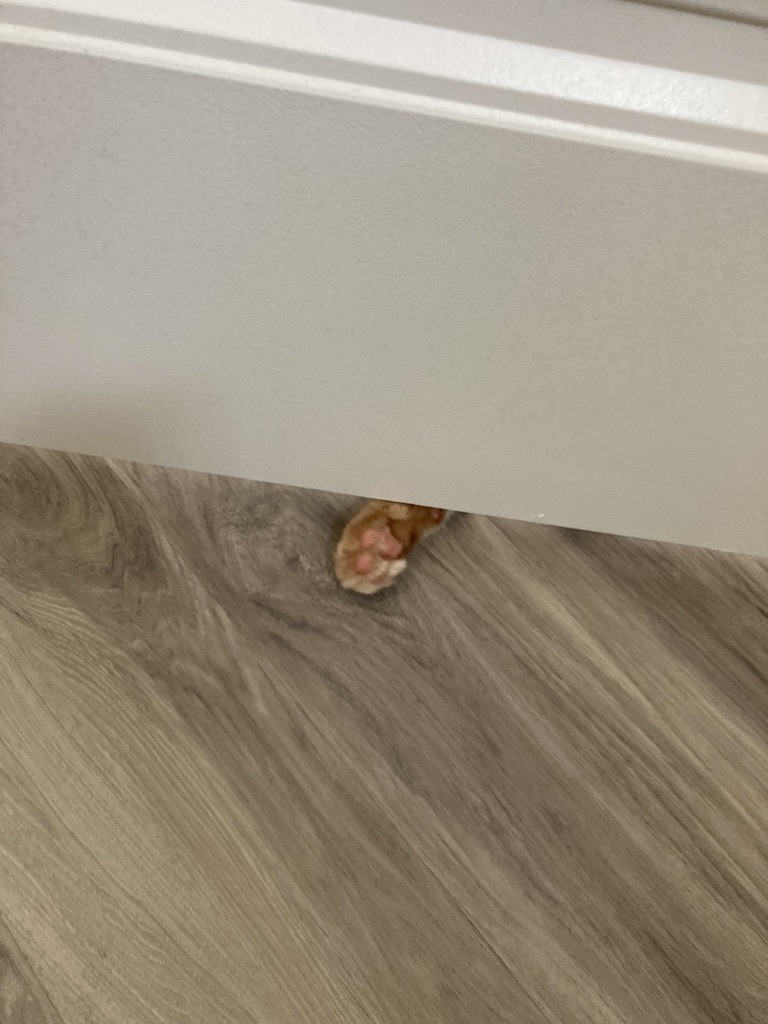
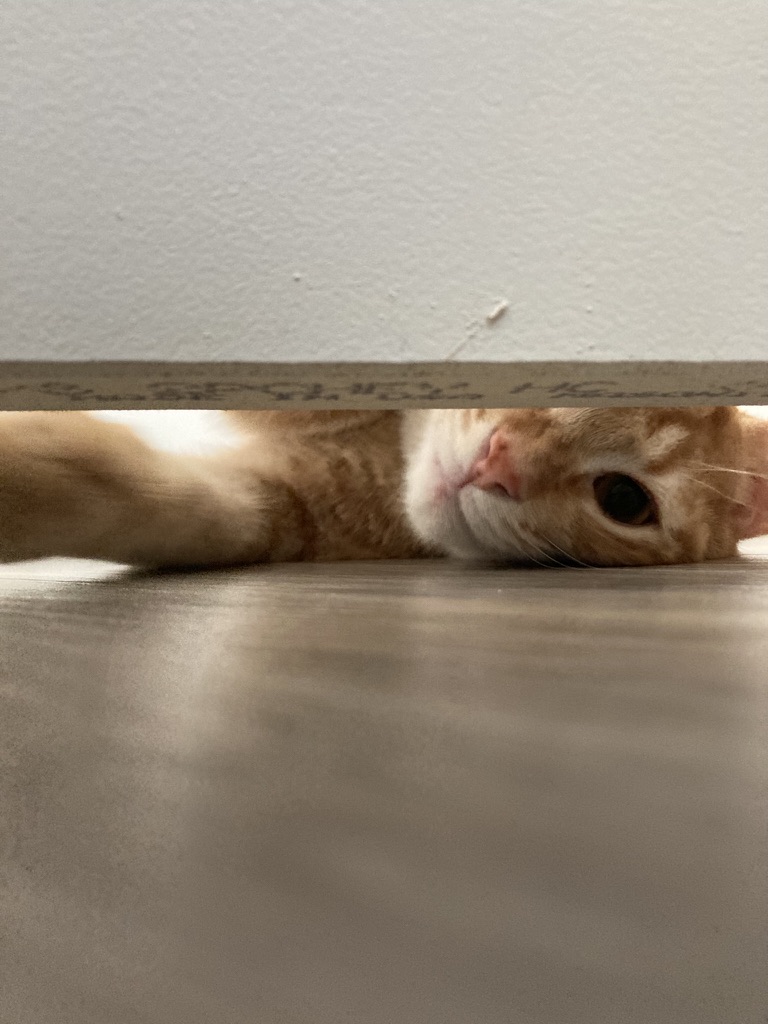
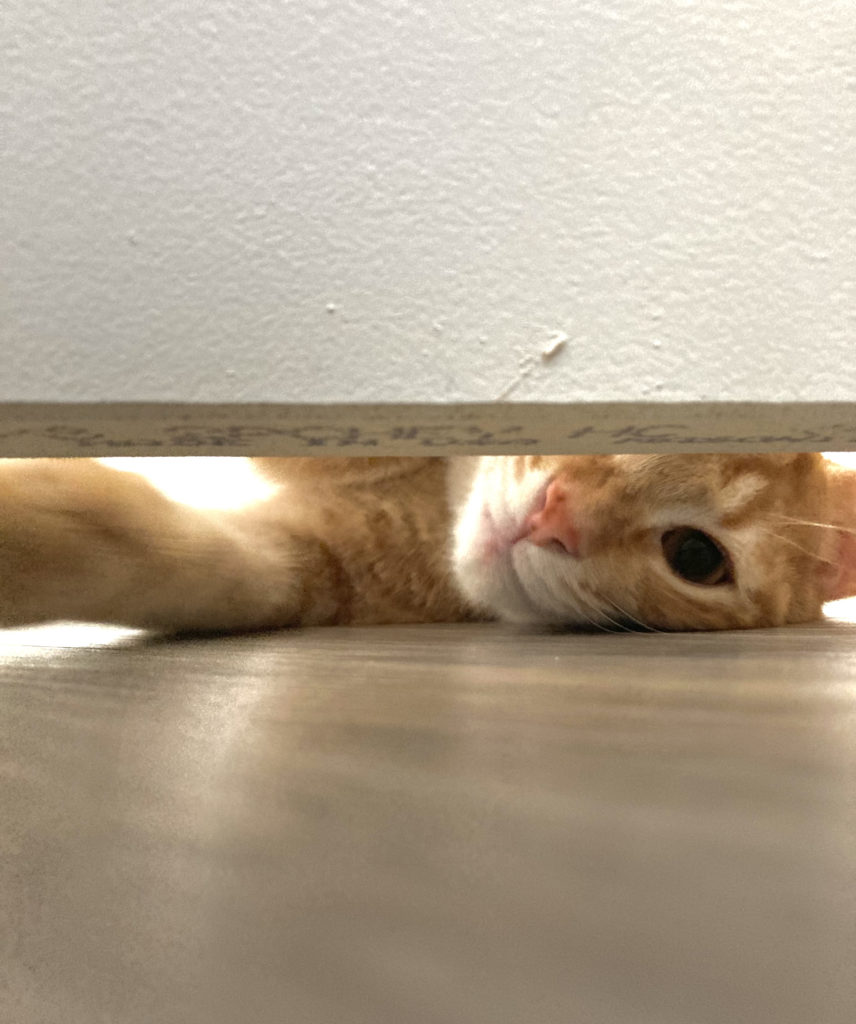
2. Move your body – don’t be afraid to move around. This is my kitty, Kruz. He was wanting in the room and was waving his little paw under the door. The first picture is okay but the second picture is so much better because I bent down to his level. Now, we can see his little face peering between the door and the floor. This in a way is framing his little face. The third image is edited within the iPhone. I first cropped in the image to within the far right middle quadrant to center his eye, raised the exposure and shadows then lowered the highlights and contrast.
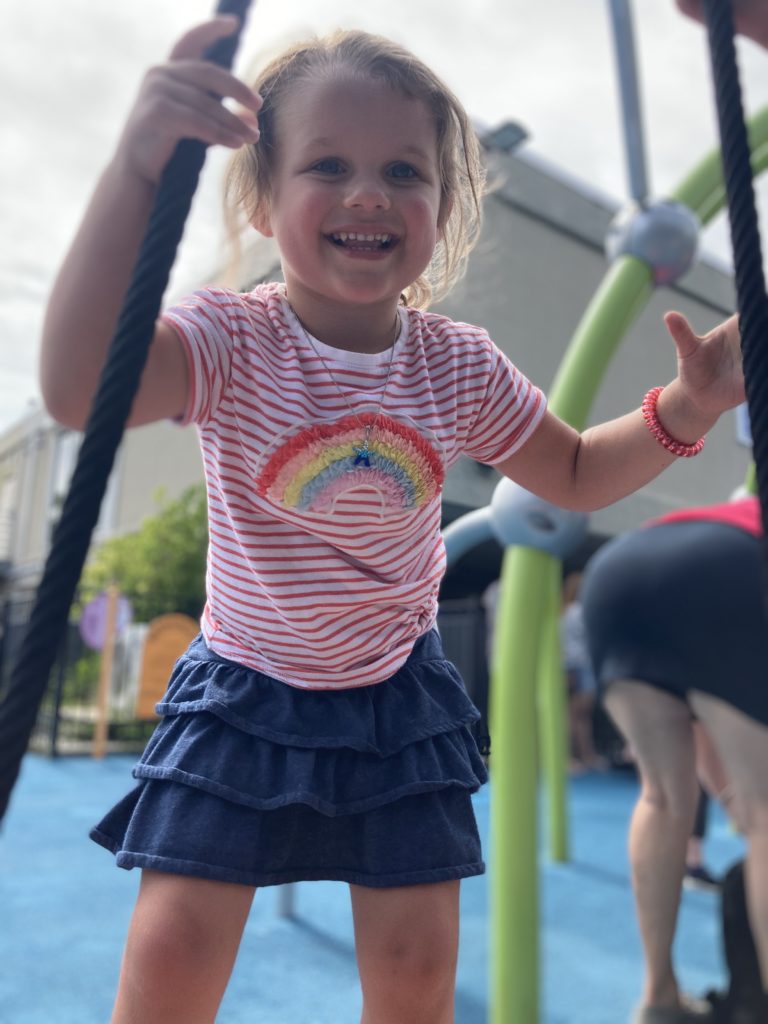
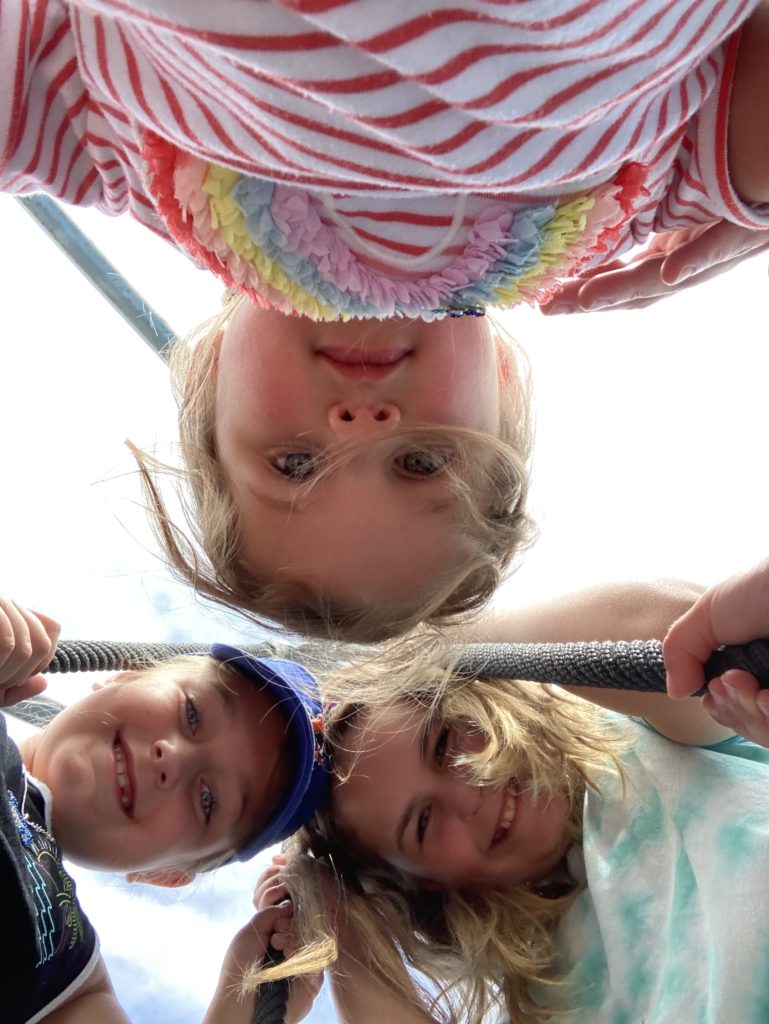
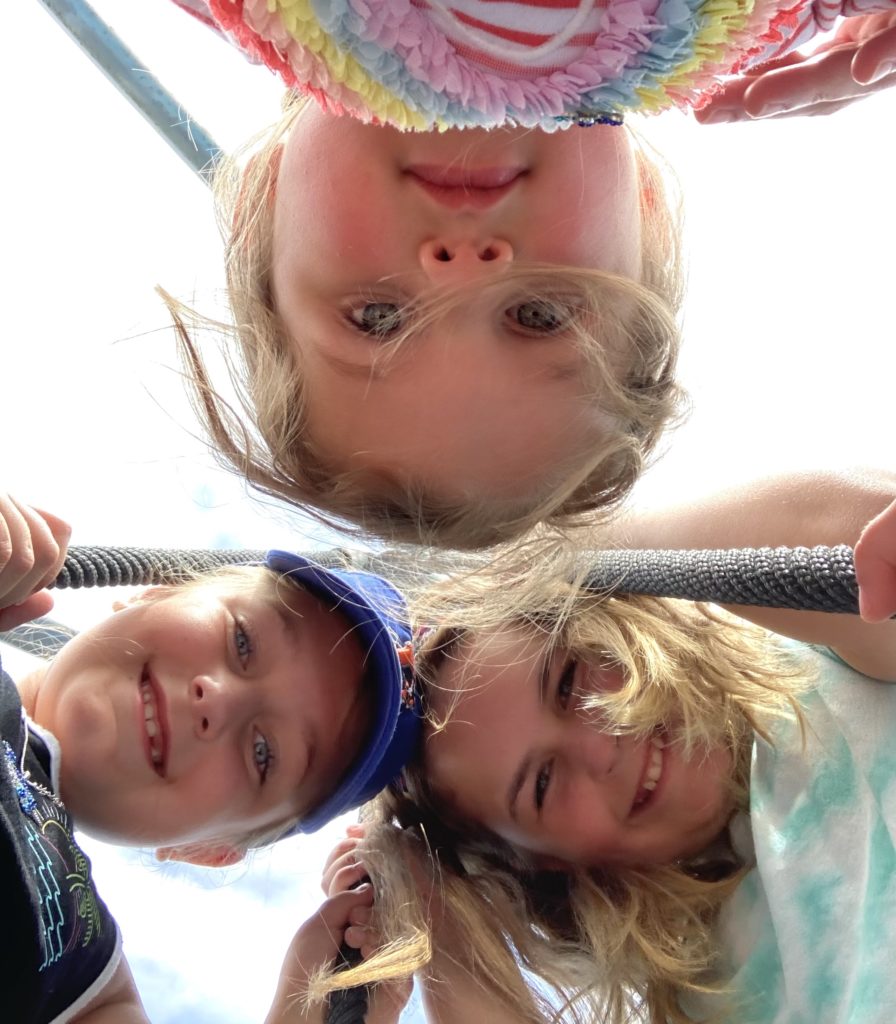
3. Get in the middle of the action – instead of standing in front of your subject like in the first picture move your phone to the middle of the swing and have the sisters gather around for a fun picture! When I take pictures at weddings I have to get out of my comfort zone and hit the dance floor with the couple and their guests. I do this because that’s what makes for the memorable action photos.
When it came time to edit the middle image I cropped in a little, raised the exposure and shadows then lowered the highlights and contrast.
I hope you have found this post helpful as you take pictures of your family!
January 10, 2023
